
Perfecting Your Imagery with Light, Backgrounds, and Equipment
After laying the groundwork with research and inspiration in Part 1, it's time to move from concept to creation.
Capturing the essence of your handmade products through photography is not just about snapping pictures—it's about telling a story, your story.
Here's how to bring your vision to life.
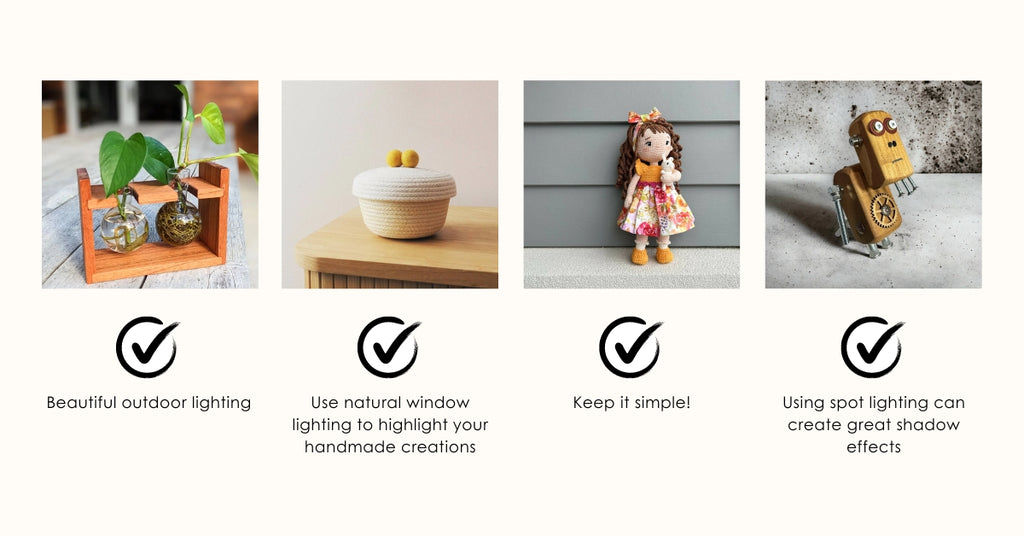
Step 1: Lighting - The Heartbeat of Photography
The right lighting can transform your product from ordinary to extraordinary. Natural light is your best ally here, offering soft, diffused illumination that highlights the beauty of your creations.
Identify spots in your home that receive ample natural light, and observe how it varies throughout the day. This knowledge allows you to schedule photo sessions when the light is just right, ensuring consistency in your imagery.
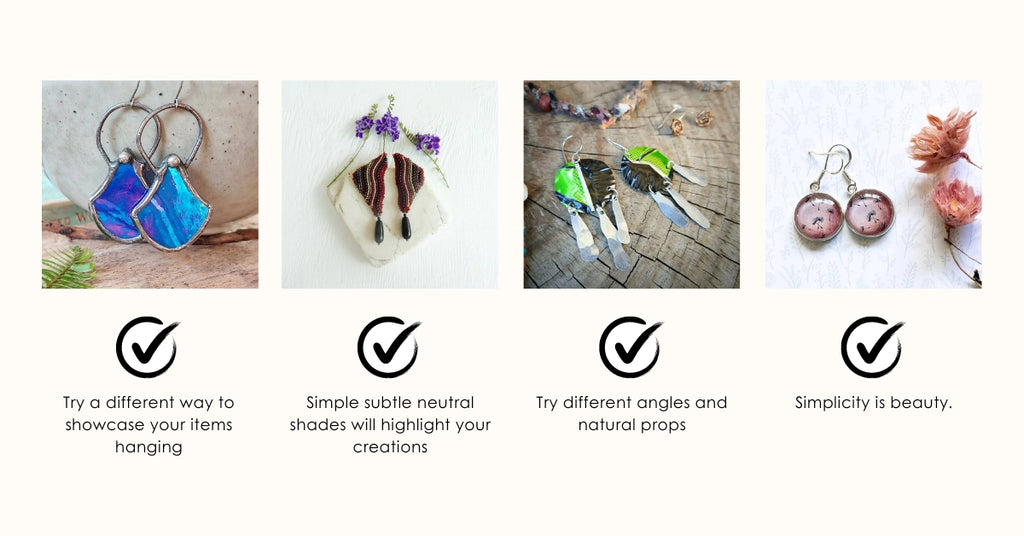
Step 2: Backgrounds - Setting the Stage
Reflect on the backgrounds that caught your eye during your research phase. What elements can you borrow to make your products pop?
A well-chosen background compliments the product without overshadowing it. On platforms like Made It, where the authenticity of the handmade is celebrated, styled backgrounds by artists themselves often resonate most with customers.
Think natural wood, twine, or subtly patterned paper—elements that enhance but don't compete.
Step 3: Equipment - Mastering Your Tools
Gone are the days when professional cameras were the gatekeepers of quality photography. Today's smartphones are equipped with cameras capable of capturing stunning details.
Start with what you have, familiarising yourself with your phone's camera settings. Online tutorials specific to your model can be invaluable resources.
As your confidence grows, you might explore dedicated photography equipment, but remember, the best camera is the one that you know how to use.
Step 4: Planning and Batching Your Photo Sessions
Efficiency is key.
Once you've identified the ideal spot and time for your photographing your handmade creations, prepare your products in advance.
Arranging them so you can move seamlessly from one to the next not only saves time but also ensures a cohesive look across your portfolio. Consider varying your backgrounds or props halfway through to add diversity while maintaining a unified aesthetic.
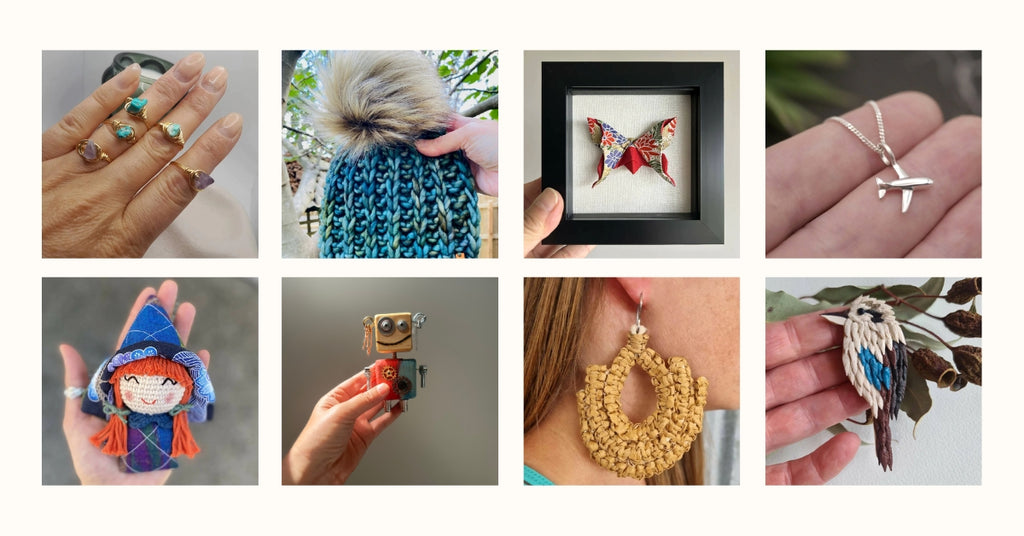
Hot Tip: Showcase the Handmade Touch
Images that include the artist holding their creation perform exceptionally well, especially on platforms like Made It.
This personal touch underscores the handmade nature of the item and provides scale. Whether it’s earrings or miniature sculptures, such visuals immediately convey the item's size and artisanal value.
In Conclusion: Embrace the Journey
Photographing your handmade products is an extension of your creativity.
Experiment, learn, and don't be discouraged if the first attempts don't meet your expectations. Photography, like any art, is a journey. Remember, the Made It community is here to support you. Share your progress, seek feedback, and continue to refine your skills. Your vision, captured through the lens, is what sets your creations apart.
If you need any extra assistance, please email our A-Team (Activation Team) at support@madeit.com.au
Warm regards, Leina, Bec, Stacey & Sue