Optimising Your Images for Online Success
Congratulations on working through Part 1 and Part 2 of how to capture great imagery of your handmade creations.
The next and final step in our series is ensuring your images are perfectly prepped for online showcasing. This involves optimising them in the right digital format, sizing them appropriately, and using effective naming conventions.
Let’s dive in.
Step 1: Image Size and Format
For your creations to shine on the Made It platform, presenting your images in a square format is key. A square format ensures uniformity and visual appeal, making your products easily viewable and attractive to potential buyers.
Here’s how to achieve this:
- Optimal Size: Aim for images around two megabytes in size to maintain quality without overburdening load times.
- Creating Square Images: Use a graphic editing tool like Canva to resize your images to a perfect square. Setting up a document at 1100x1100 pixels allows for high-resolution clarity without exceeding platform limits.
- Tool Recommendation: Canva is our suggested platform for its user-friendly interface and versatility. For guidance on resizing images in Canva, refer to this helpful document.
Step 2: Preferred Image Formats
When saving your images, the format matters. The Made It platform supports JPG and PNG files, but we recommend:
- JPG Format: This format is ideal for maintaining high-quality images at smaller file sizes, making it easier to upload and share across various social media platforms.
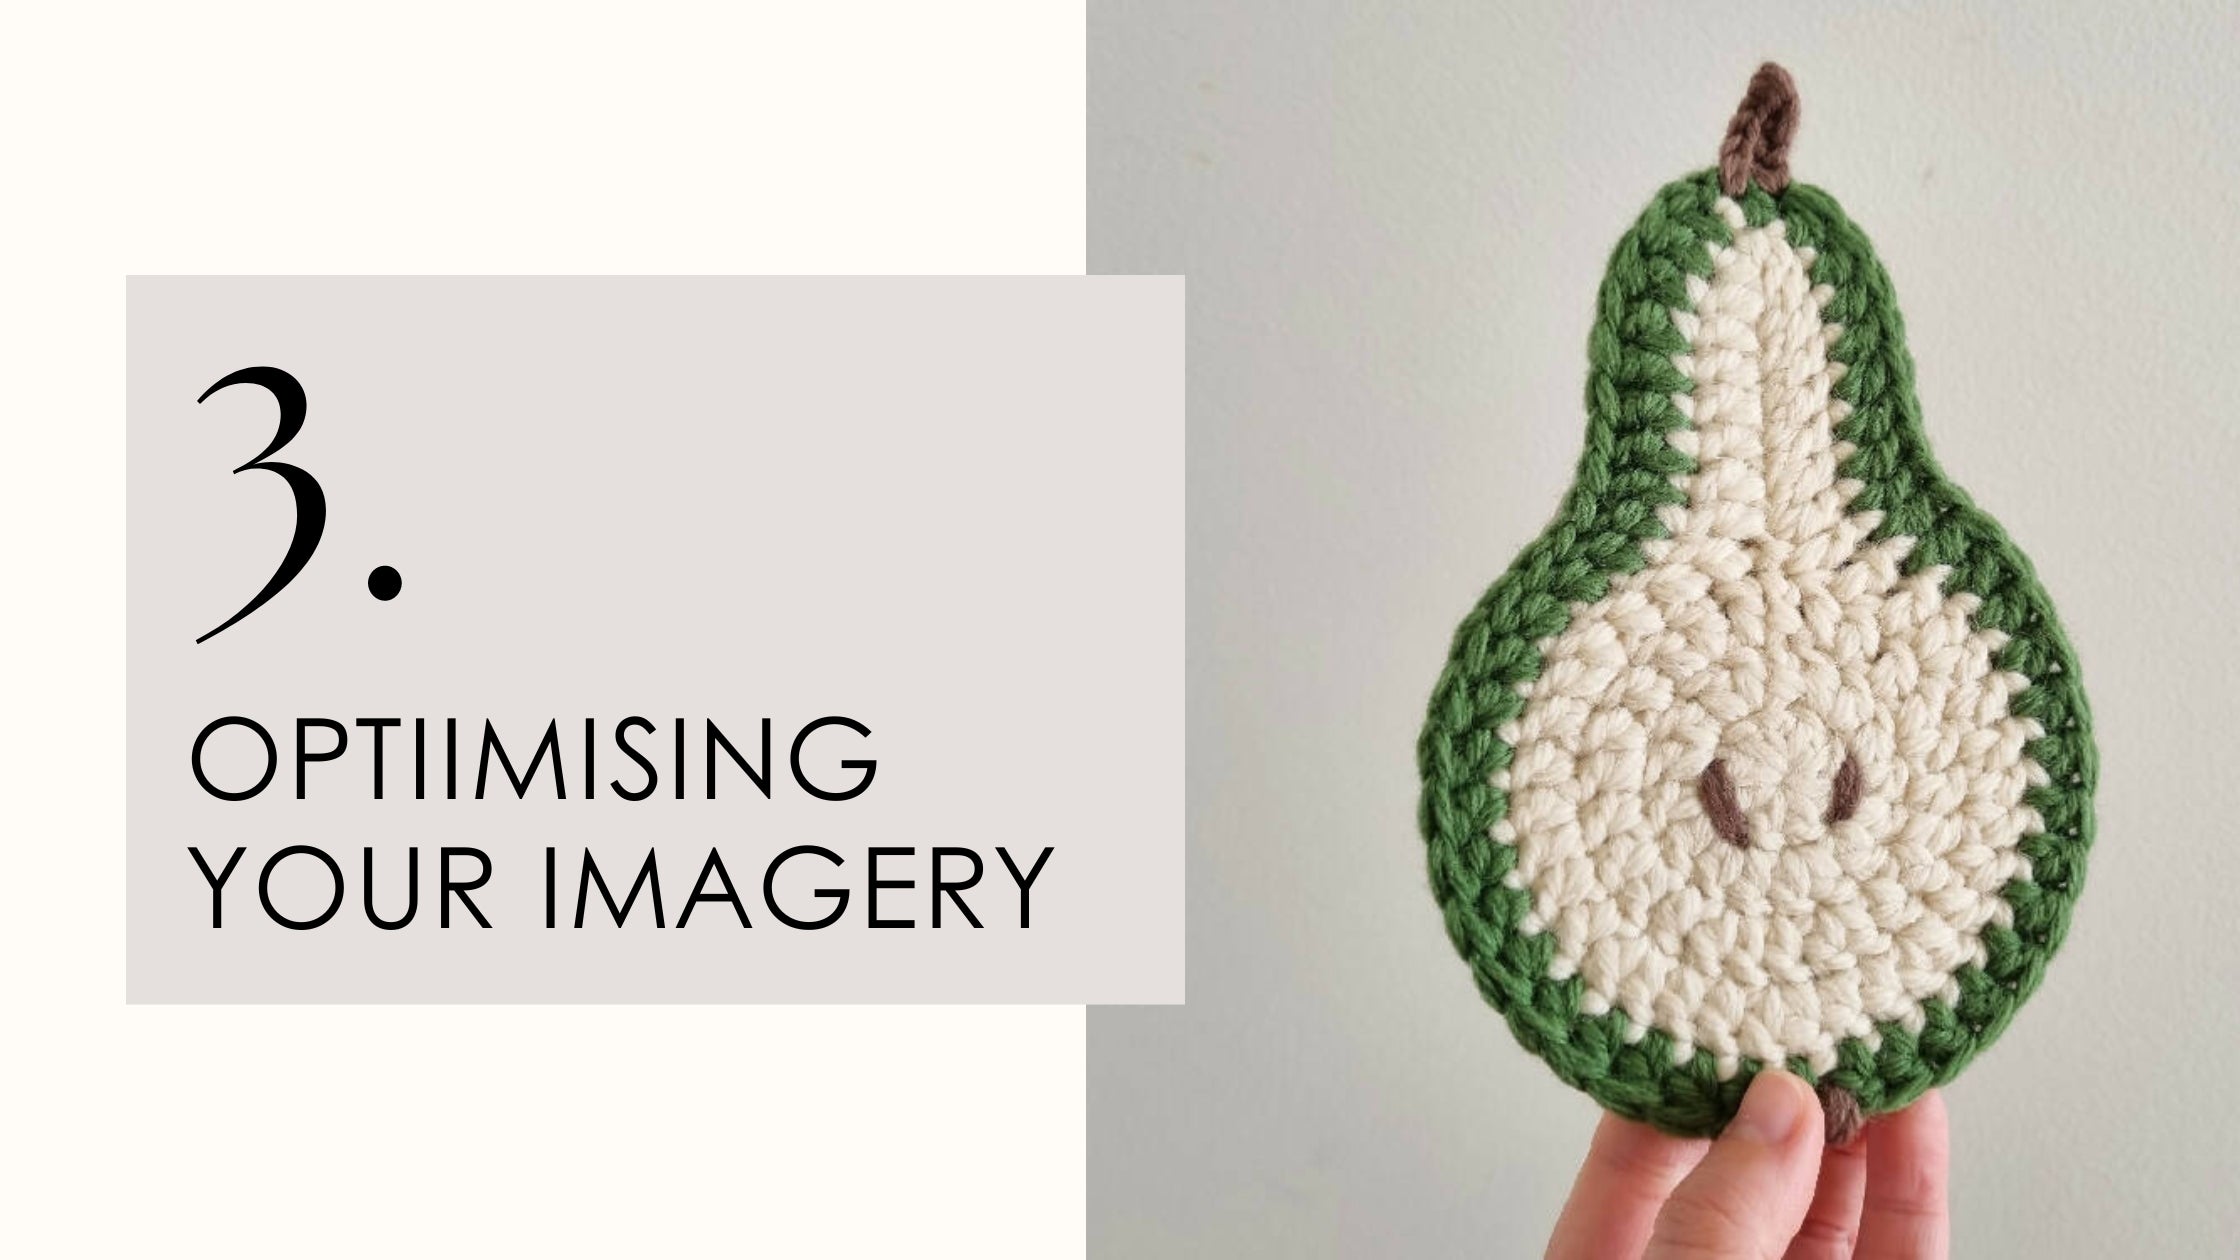
Step 3: Naming Your Images for SEO
The way you name your image files can significantly impact your SEO, helping your products get found more easily online. Here’s a quick guide to effective image naming:
-
Avoid Generic Names: Instead of using nondescript file names like
123456.jpg, opt for descriptive, SEO-friendly names. -
Use Descriptive Terms: Include relevant keywords such as
Australian-artist-handmade-[category]-[color]-[item].jpg. This not only improves SEO but also gives potential customers and search engines a clear understanding of what your image (and product) is about. - Formatting Tips: Replace spaces with dashes (-) or underscores (_) to ensure web compatibility.
By following these simple yet crucial steps, your product images will be optimised not just for the Made It platform, but for the broader digital world.
Your creations deserve to be seen, and with the right preparation, they will attract the attention and appreciation they merit.
Conclusion: Ready for the Spotlight
With your images now perfectly sized, formatted, and named, you’re all set to showcase your handmade creations to the world. Whether you're joining the waitlist or resubmitting your application to Made It, your enhanced product imagery is your ticket to capturing hearts and igniting sales.
Remember, great imagery is more than just a requirement; it’s a powerful tool to differentiate your brand and tell your unique story.
Embrace this final step with the same creativity and passion that fuels your handmade journey.
If you need any extra assistance, please email our A-Team (Activation Team) at support@madeit.com.au
Warm regards, Leina, Bec, Stacey & Sue